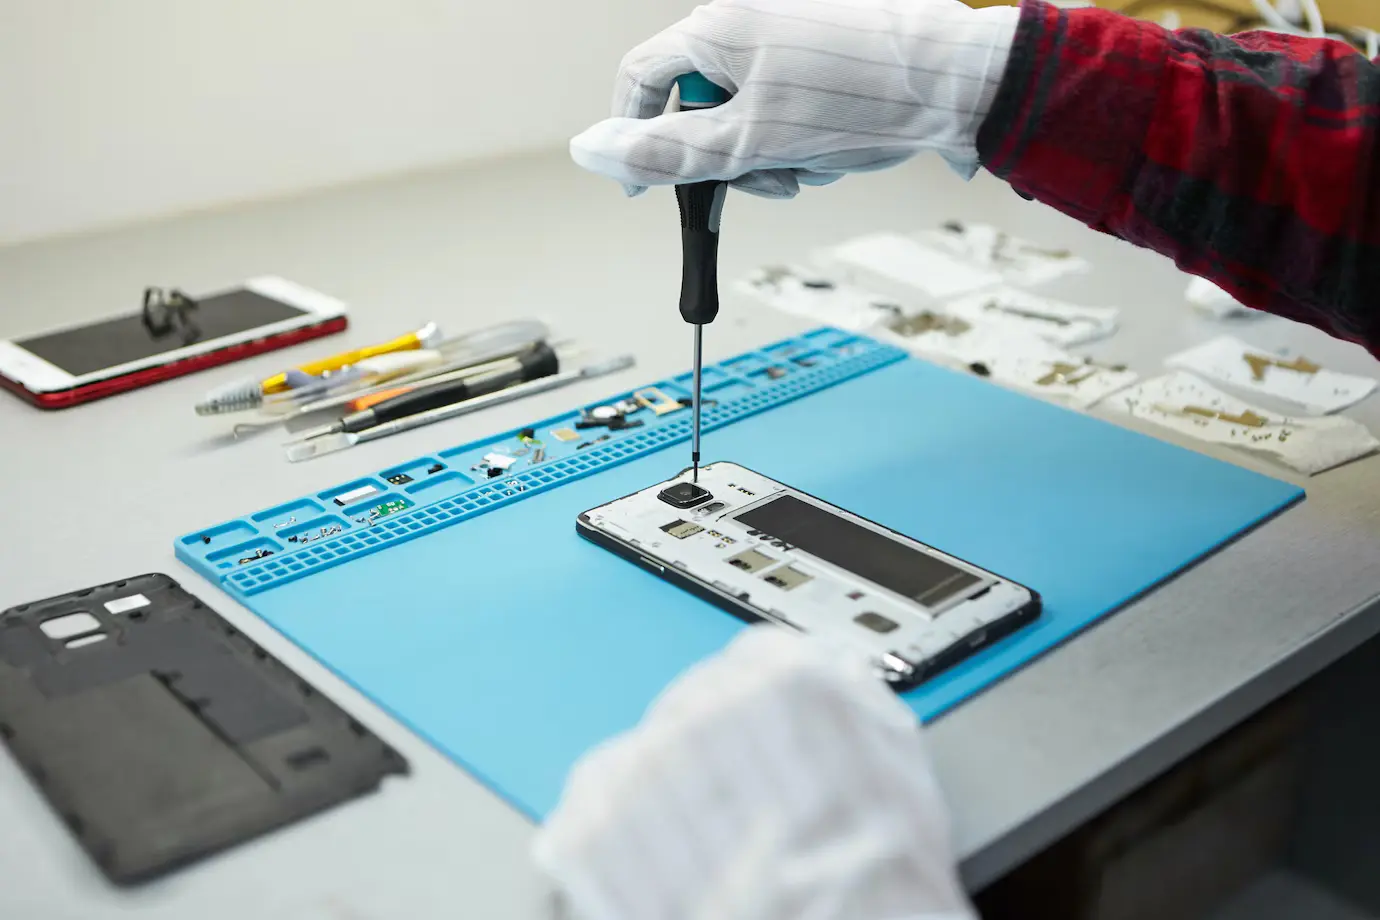

Prepare a useful view
Begin with approved, unpowered practice material and the instructor’s handling procedure. Choose one area and note its reference or location. A heavily enlarged image without orientation can make a normal feature look alarming while hiding where it belongs on the board.
Compare light and focus deliberately
Inspect the same area with an appropriate change in illumination or viewing angle. Record which feature remains visible and which disappears as glare changes. Keep the board still and avoid touching small parts with a tool merely to improve the photograph.
Describe the finding without guessing its cause
Use terms such as visible gap, displaced part or uncertain surface feature. A photograph alone may not establish electrical condition. Ask what additional evidence would justify action. For before-and-after documentation, use comparable framing so a reviewer can distinguish the work from a change in lighting.
A suspicious feature disappears with glare
Keep the first image, but record that the appearance changed with illumination. Seek a repeatable view before calling it damage. A photograph’s contrast can help inspection while also creating an impression that needs checking against the physical assembly.
Your practice record
- Board area and orientation
- Lighting and focus conditions
- Repeatable visible feature
- Further evidence needed
Repair procedures involve heat, electricity, fragile parts and customer data. Practise under qualified supervision and work only on devices you are authorized to service.