Identify how the connection is retained
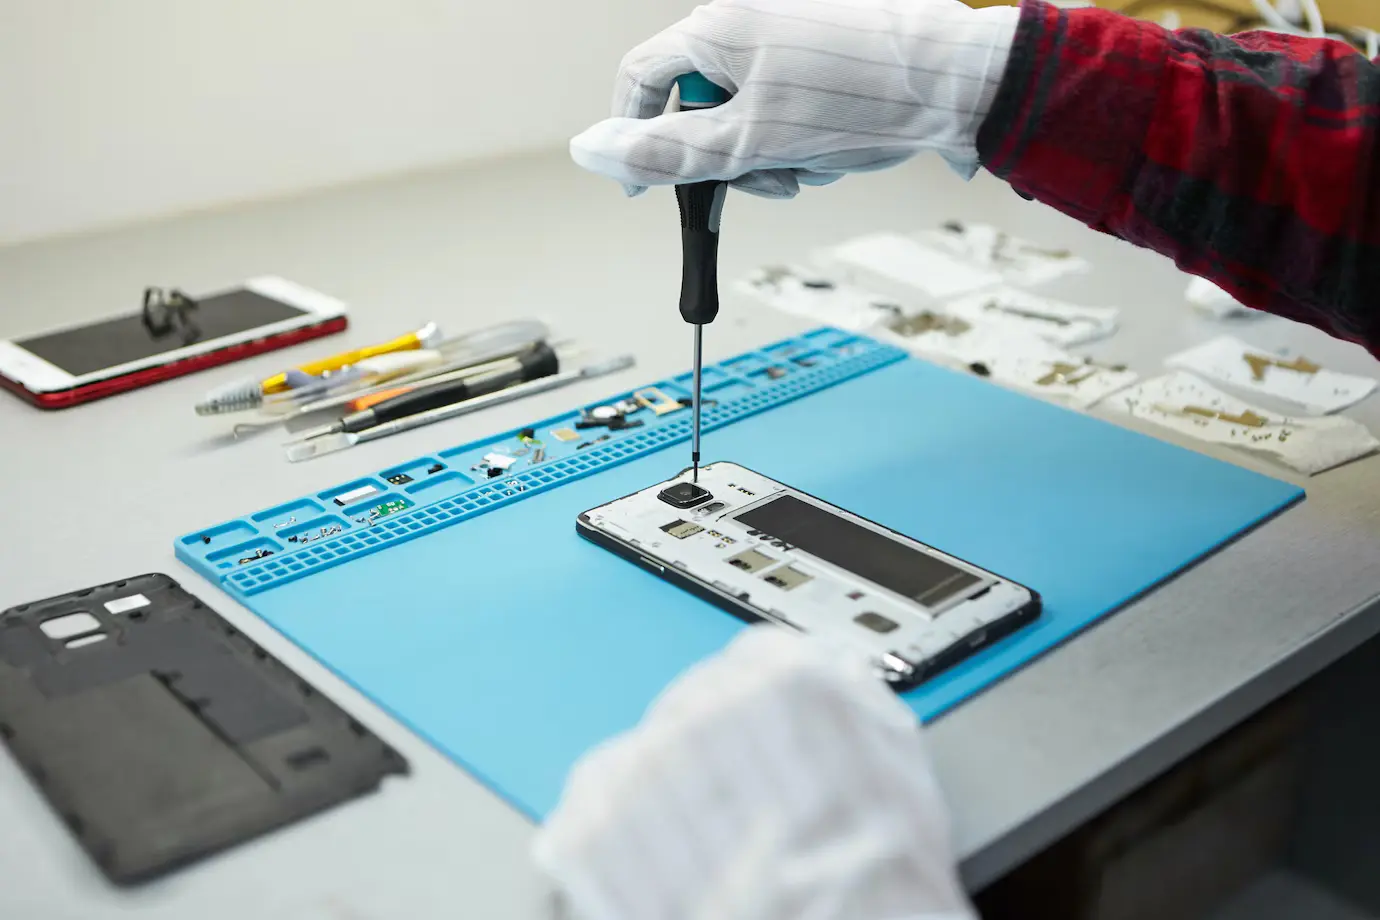
Use the actual model’s documentation and an instructor’s demonstration to understand the connector. Do not assume every flex connection opens by lifting the same edge. A visible flap, press-fit assembly and different locking style require different handling.
Document the original route
Before a supported removal, record the cable’s orientation and routing on permitted practice material. Identify where it passes around other parts. Avoid using pulling force to discover which area is still retained. Stop if the documented sequence does not match the board in front of you.
Inspect and verify the result
After the supervised operation, compare the cable and connector condition with the starting view. Reassembly should follow the model procedure without trapped or strained routing. Record both the handling outcome and the relevant function test. An undamaged-looking flex is an inspection observation, not proof of complete electrical performance.
The locking style is unfamiliar
Ask for the correct demonstration instead of testing it by force. A similar-looking connector from another model may release differently. A student who stops at this point demonstrates useful judgement; completing the operation through guesswork is not a stronger learning result.
Your practice record
- Retention style confirmed
- Orientation and routing recorded
- Mismatch triggers a stop
- Inspection plus function result
Repair procedures involve heat, electricity, fragile parts and customer data. Practise under qualified supervision and work only on devices you are authorized to service.